Thursday, March 31, 2011

Custard Powder Cookies


The other day, in between dinner preparations,  I had a sudden crazy urge to bake. I was in the mood and needed to bake something. Something simple would do. I pulled out my tattered little recipe notebook and found this Custard Powder Cookies recipe. Easy and quick, these golden yellow cookies were churned out  in no time at all. Of course I cheated a little, I  had free child labor to help me. My Daughter G enjoyed doing all the rolling and shaping of the cookies. Good for her and good for me. Haha!

My dear Hubby liked the cookies a lot and thought they were butter cookies. Again and again I've repeated to him, "No, they're custard cookies!" Yet he still calls them butter cookies. Well, they were indeed buttery. And with a sandy texture that melts into a paste in the mouth, they remind me of a lighter version of shortbread.

Do give this recipe a go when you find yourself wondering what to do with your stash of custard powder. Let me know whether  this makes custard cookies OR butter cookies. You be the judge. Let's see who wins.
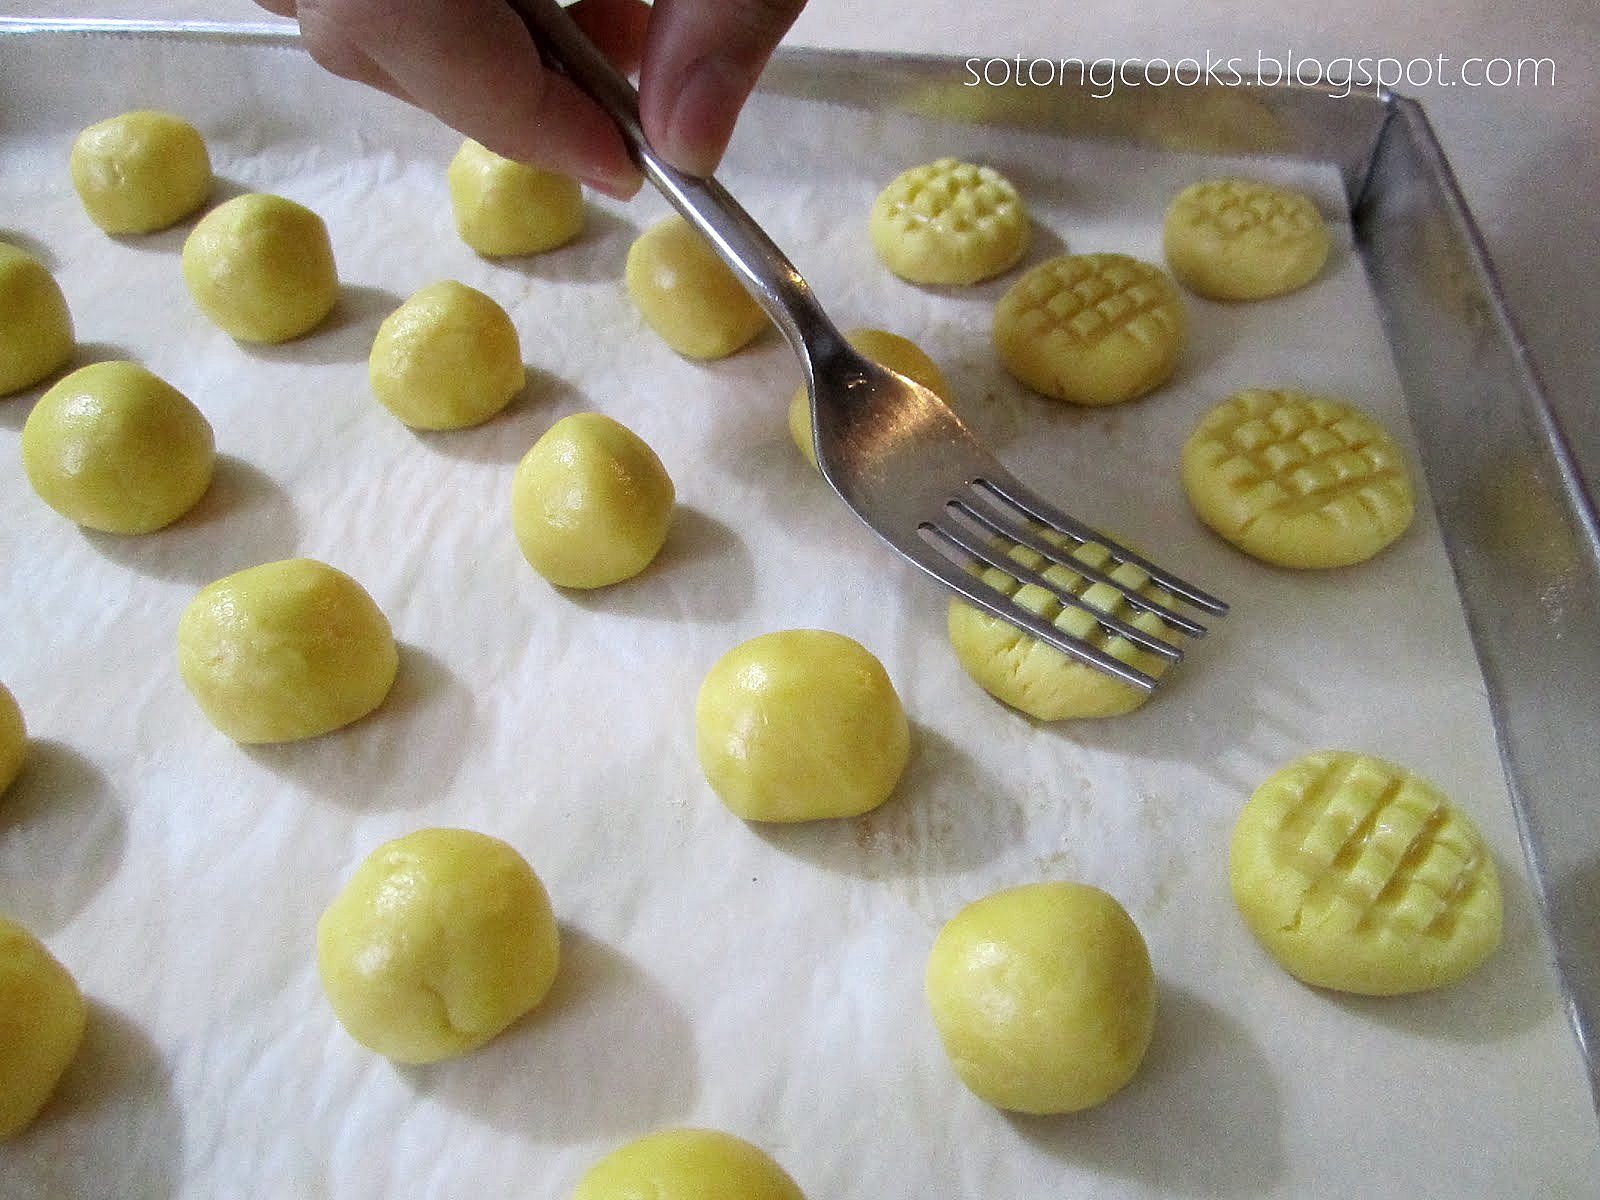

Press down criss cross.

Custard Powder Cookies
(Recipe taken from 'Food, Fun & Farm Life' here)

Makes 90 cookies.

Ingredients:

100 gm Icing Sugar
100 gm Custard Powder
300 gm Plain Flour
300 gm Butter


Method:

Don't they look like mini corn hobs? :)
Beat butter and icing sugar together till pale & fluffy. In another bowl, sift custard powder and plain flour together, then mix  into the butter mixture until just combined. Shape dough into small walnut sized balls. Place on a greased or lined baking tray. Dip fork in water, press down to flatten slightly. Bake at 200 °C for 10 to 15 minutes. Once cooled, dust with icing sugar if you like.

Friday, March 25, 2011

Angel Biscuits


"YUM, VERY YUM!" was what my 11 year old G said. As soon as she devoured the last piece of the batch, she ordered, "U should make another batch of these!". I am with her 101%! These have got to be the lightest and scrummiest biscuits ever. Just heavenly. These are in a league of their own and befit the name Angel Biscuits indeed.  Unlike any regular biscuits, yeast is used and overnight resting in the fridge is required. So if you ever want to taste a piece of bread heaven, you gotta be patient and prepare the dough a day ahead. Patient pays - in this case, divinely!

Thanks to Happy Flour who tried out the recipe and shared the wonderful result in her blog. Original recipe from Fresh with Anna Olson- Retro 50's Meal (season 2).


Note:
I've made 2 batches of these Angel Biscuits in one week. The first batch I used Golden Churn Butter and  the second batch with Anchor Butter.  I must stress that the quality of butter you use will make a mile of difference in the taste of these biscuits.  In this case the Golden Churn Butter wins hands down! I think from now on, I will use only Golden Churn Butter for my bakes.


Angel Biscuits Recipe
(yield about 8 biscuits)

Ingredients 
  • 2g instant dry yeast (about 3/4tsp)
  • 30g sugar
  • 1tbsp warm water (body temperature) (Omitted this)
  • 190g plain flour
  • 1/4tsp baking soda
  • 1/4tsp baking powder
  • 1/4tsp salt  (reduced to 1/8 tsp)
  • 60g cold unsalted butter, cut into pieces (I used salted butter)
  • 120g buttermilk (I used 120g water + 2 tablespoons buttermilk powder)
Method:

1. Stir yeast, a pinch of the sugar and 1 tbsp water (I used 1 tbsp water from the 120g water) together and set aside while preparing other ingredients. 
2. Sift flour, remaining sugar, baking soda, baking powder and salt into a large bowl. (I've added buttermilk powder in this step)
3. Cut the butter into the flour until it’s a rough crumbly texture.
4. Stir the yeast mixture into the buttermilk (120g water minus 1 tbs) and add it all to the flour.
5. Mix until a sticky dough comes, wrap and chill overnight.
6. The next day, preheat oven to 220 deg C.
7. On a generously floured surface (dough will be sticky), roll out dough to 1cm thick and fold dough over in half, pressing down gently.
8. Using a 5 cm round cutter, cut out biscuits and place on a greased tray (I didn't grease. Instead, lined my tray with non-stick baking paper).
9. Bake 10-12 mins, until just lightly browned.
10.Remove from tray and cool on a wire rack.
11.Serve biscuits warm or freeze and re-heat to serve later.

Thursday, March 24, 2011

MacaWRONGS!

There are Macarons and then there are MacaWRONGS. I had envisioned pretty dainty sandwich shells with perfect smooth pearlescent tops and fancy frilly feet - perhaps a tad ambitious on my part. Actually, I was way too arrogantly ambitious! To think I would get it right the first time round! Hah. Even professional patissier like David Lebovitz had to endure seven times of failure to produce a good batch of  macarons.

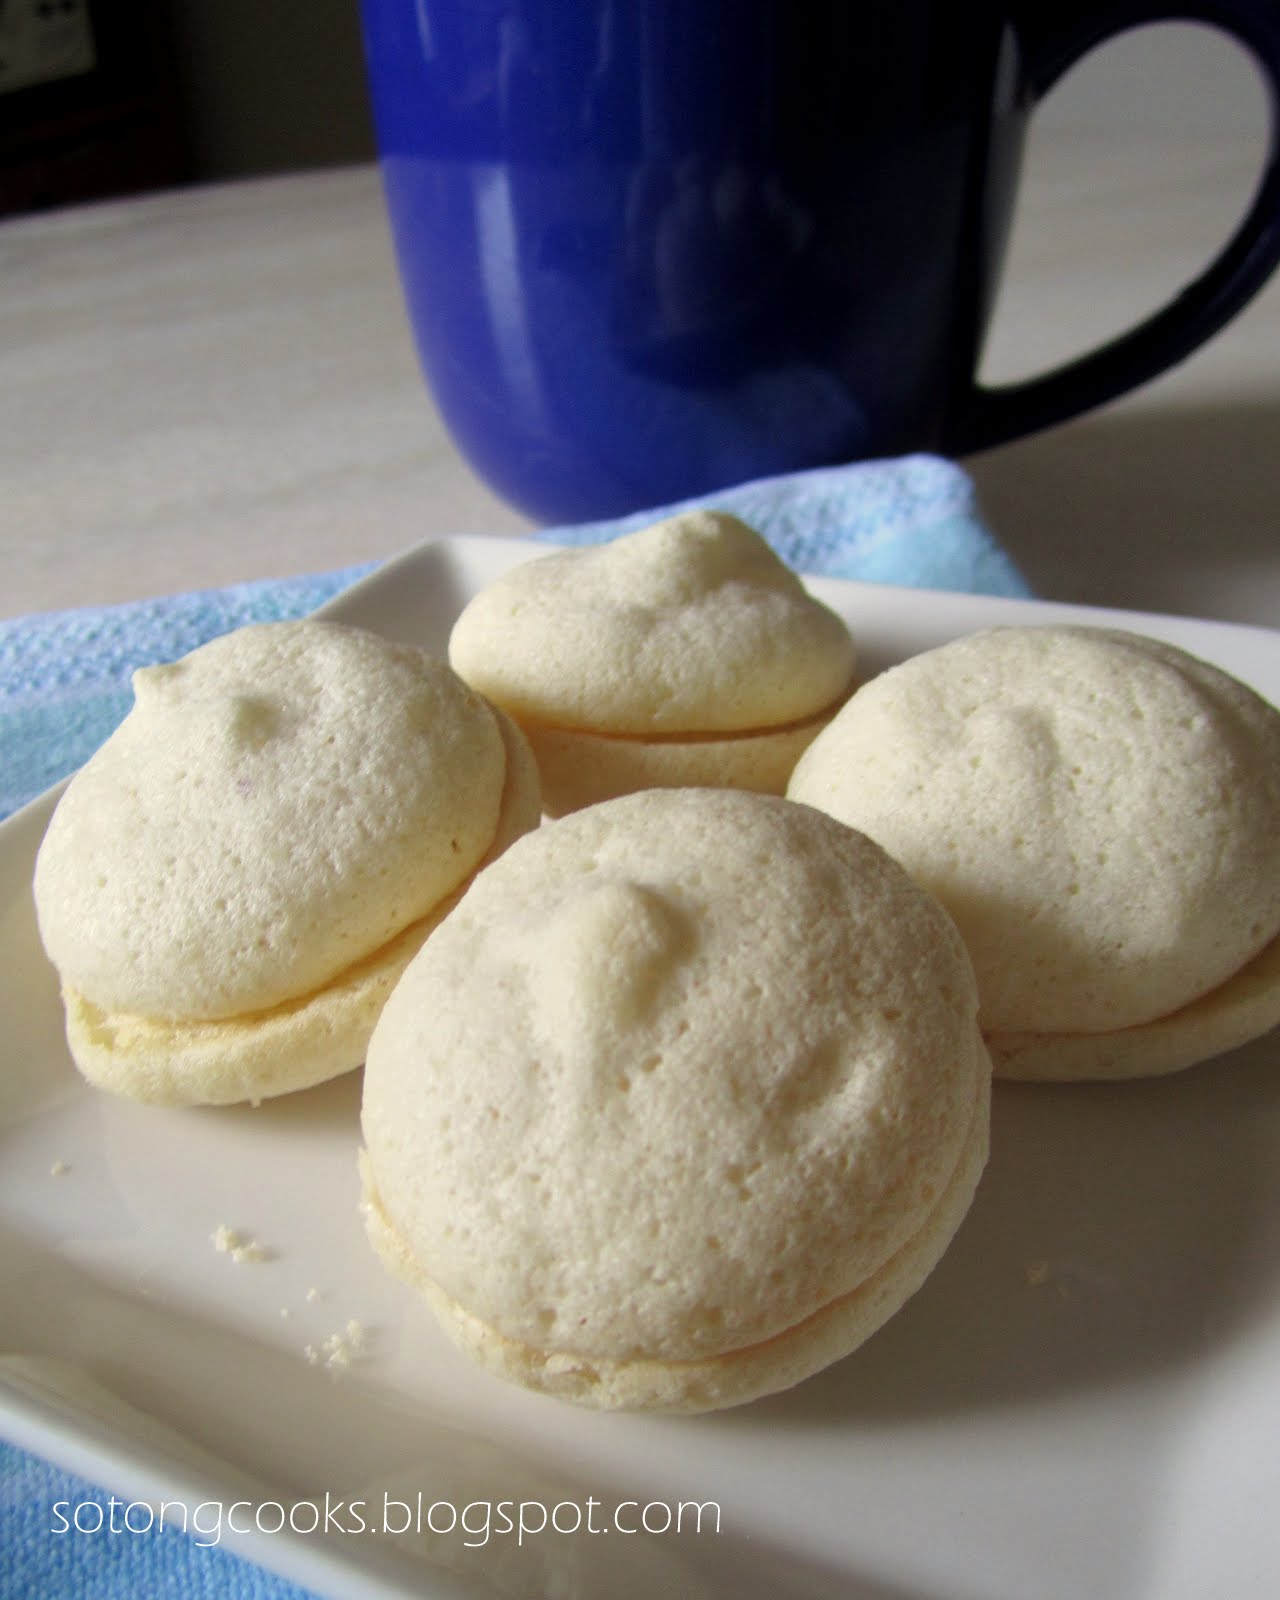
Ah well, all was not lost with these  limbless deformed babies of mine. They may not have the looks but surprisingly they do taste good when dunked in my coffee. Fragile crusts that break with the lightest of touch and soft marshmallowy chewy centres were delightful and addictive to eat. These qualities have redeemed and saved them from the fate of ending up in the dreaded bin. Well most failed bakes of mine rarely do end up in the bin anyway. They mostly reincarnate as 'treats' for my fur-kids. Lucky them. Haha!


My cutie pie Jessie (she's actually a pig disquised as a dog)  and darling Sandy would gladly and eagerly gobble up any 'treats' that I occasionally present to them.


Except for this fat boy. He'll have none of the sweet 'treats'. This jelly belly carnivore only goes gaga for meat especially raw chicken.


Now back to my macawrongs. I confess I do feel humbled and at the same time somewhat intimidated by these macawrongs. But I will not give up, I'll try again.  Until I manage to perfect my skills & technique and tame these fussy & temperamental little divas, there'll be no more macaron posts from me. Till then. Fingers crossed.

Now, please excuse my ramblings.

Wednesday, March 23, 2011

Cream of Mushroom Soup


Simple homemade creamy mushroom soup made from scratch. Taste better than canned ones if I may say so myself. Dear Hubby exclaimed. "GOOD!" after slurping in a mouthful. My Daughter G agreed but complained  there were too much mushroom pieces getting in the way. But that's how I like it, mushroom soup with lots of chunky goodness.  As long as I have all the ingredients in  my pantry to make this soup I will not be opening that can of mushroom soup in a long while, unless of course laziness calls for it. Haha!

Cream of Mushroom Soup

(serves 2-3 persons)
Ingredients
  • 6 larges pieces of fresh shitake mushrooms (add more or less if preferred)
  • 1 tbs butter
  • 1 tbs cooking oil 
  • 1 leek, thinly sliced
  • 2 cloves garlic, minced
  • 1 heaped tablespoons all-purpose flour (add more if a thicker consistency is preferred)
  • 2-3 cups chicken broth (or just use water and add chicken stock cube)
  • 1/2  cup light cream (add more if you like richer soup)
  • salt and pepper to taste
  • chopped fresh parsley / dried parsley or chives to garnish

Directions

  1. Slice the mushroom caps and the stalks,  discarding the tough ends.
  2. Melt the butter in a heavy-based pan and cook the leek and garlic stirring, for 1 minute, or until the leek is soft. Add the mushroom. Cook for 3 to 4 minutes, or until the mushroom just softens. Add flour and cook, stirring for 1 minute.
  3. Remove from the heat and add the stock, stirring continuously. Return to the heat and bring to the boil, stirring. Reduce the heat and simmer gently for 10 minutes, stirring occasionally.
  4. Whisk the cream into the soup, then reheat gently, stirring. Do not allow the soup to boil. Season to taste with salt and pepper, and garnish with the chopped parsley or chives.

Wednesday, March 16, 2011

Calamansi Yoghurt Cake


Satisfyingly moist & tender!

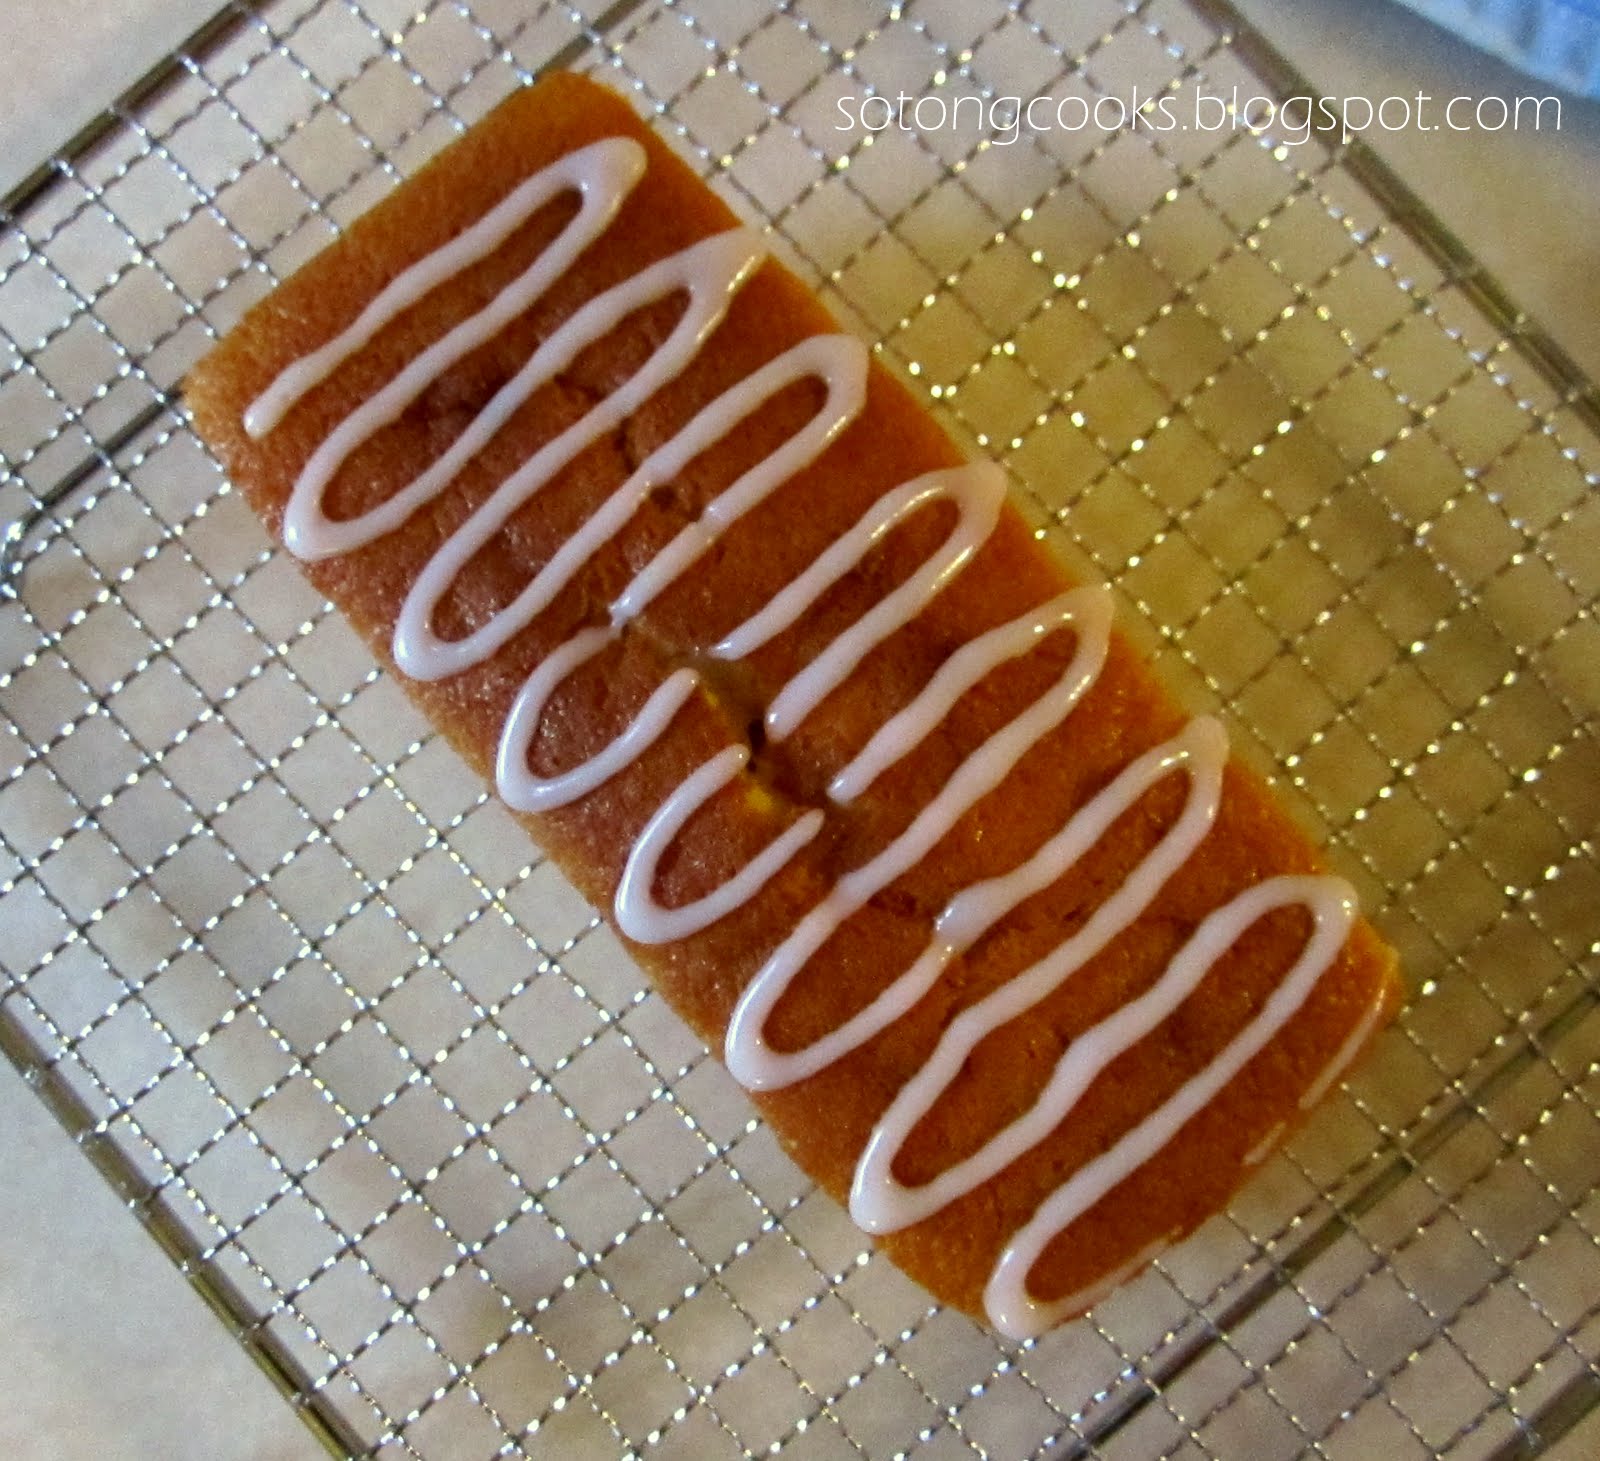
This was originally a lemon yoghurt cake recipe but as I didn't have any lemons on hand I used calamansi limes instead. Lo and behold, a Clamansi Yoghurt Cake is born!  A very delicious moist one too!


Calamansi Yoghurt Cake

Ingredients:

110g butter
100g caster sugar
2 egg yolks
1 tsp grated clamansi rind
30 ml calamansi juice
125 g plain yoghurt
140 g plain flour
1 tsp baking powder
1/2 tsp bicarb soda
2 egg whites
1/8 tsp salt
40 g caster sugar

Icing:
55 g icing sugar
1 tbs water

Method:

1) Preheat oven to 170 deg Centigrade. Prepare a greased and floured ring pan. Sift together plain flour, baking powder and bicarb of soda. Set aside.
2)  Beat butter and 100g caster sugar until light and fluffy.Slowly beat in yolks. Blend well. Add  calamansi rind and juice.
3) Fold in yoghurt and plain flour itermittently in batches. Combine well.
4) In another bowl, whisk egg whites until frothy. Still whsiking, gradually add the 40g sugar and salt. Whisk until soft peak forms.
5) Gently combine egg whites with the flour mixture.
6) Pour batter into prepared pan, bake 30-35 minutes or till cooked.
7) Remove and leave to cool on a wire rack.
8) Icing: Beat icing sugar and water till creamy. Put into piping bag and pipe on top of cooled cake.

Note: I baked mine in a 4x8 inch loaf pan and a few cupcakes. Adjust baking time accordingly. 


Calamansi Yoghurt Cupcakes, anyone? 


Friday, March 11, 2011

Mandarin Orange Chiffon Cake

 So moist & soft!

The Chinese New Year celebration has come and gone over a month ago, and believe it or not, I still have a basketful of Mandarin oranges left sitting in my fridge! When I found out this month's Aspiring Bakers' Challenge hosted by Jess of Bakericious is themed Fruity March  (details here), I quickly took up the challenge. What better way of disposing those oranges than to bake a delicious citrusy cake with them. Talk about killing 2 birds with 1 stone. Heh.


Mandarin Orange Chiffon Cake
(Recipe from "My Kitchen Snippet" here.)

Ingredients :
(A)
1 3/4 cup Self Rising Flour
1/8 tsp of salt

(B)
6 egg yolks
1/2 cup of sugar
3/4 cup Mandarin orange juice
zest of 1 orange
1/4 cup of vegetable oil

(C)
3/4 cup of sugar
6 egg white
1 tsp of cream of tartar

Method:

1. Pre-heat oven to 325 degree F / 165 deg Centigrade. Sieve all the (A) ingredients in a mixing bowl until well combined.
2. Mix (B) ingredients  until well blended and then add in ingredient (A) and mix until smooth. Set aside.
3. Beat (C) ingredients using a mixer on high speed until stiff peak. It should not fall out when you turn the mixing bowl over. Fold 1/3 of the egg whites into the egg yolk mixture to loosen the mixture, then fold in the rest of the egg whites. Remember to fold in gently until well mixed.
4. Pour batter into ungreased 10" tube pan and bake for an hour. Use a bamboo skewer to test the cake for doneness.
5. Remove from oven and invert cake (in pan still) and leave to cool completely. When completely cooled, loosen the edge of the pan and remove cake from pan.

Sunday, March 6, 2011

Butter Cake AGAIN!


Yup Vanilla Butter Cake again (recipe from here)!  Made just to satisfy my Daughter G's incessant request for this cake.


This time I used premium (read pricey)  ingredients. Instead of the usual block of  Anchor New Zealand Butter, I used the tinned Golden Churn Butter. Instead of the common vanilla essence, I used vanilla seeds from 1 whole vanilla bean. Instead of the usual round cake, I made dainty square cupcakes.


I've got to say, it PAYS to use quality ingredients! Yup, pun intended. :)

Related Posts Plugin for WordPress, Blogger...