Man, I gotta give my self a pat in the back. I never would have thought I'd make danish pastry EVER! Okay, I cheated a little. I used Nigella Lawson's food processor recipe. See even the goddess herself cheats! Haha. This is what I love so much about Nigella. She makes everything simple and approachable to mere home cooks like me. Do try this recipe if the task of laminating butter between layers of dough scares and intimidates u as it always did to me... and still does. I'll never attempt the proper old-school way of making danish pastry - why would I when it is so easy this way!
I am submitting this post to Aspiring Bakers #10: Easy as Pie (August 2011), hosted by Janine of Not the Kitchen Sink! If you would like to join, please see details here.
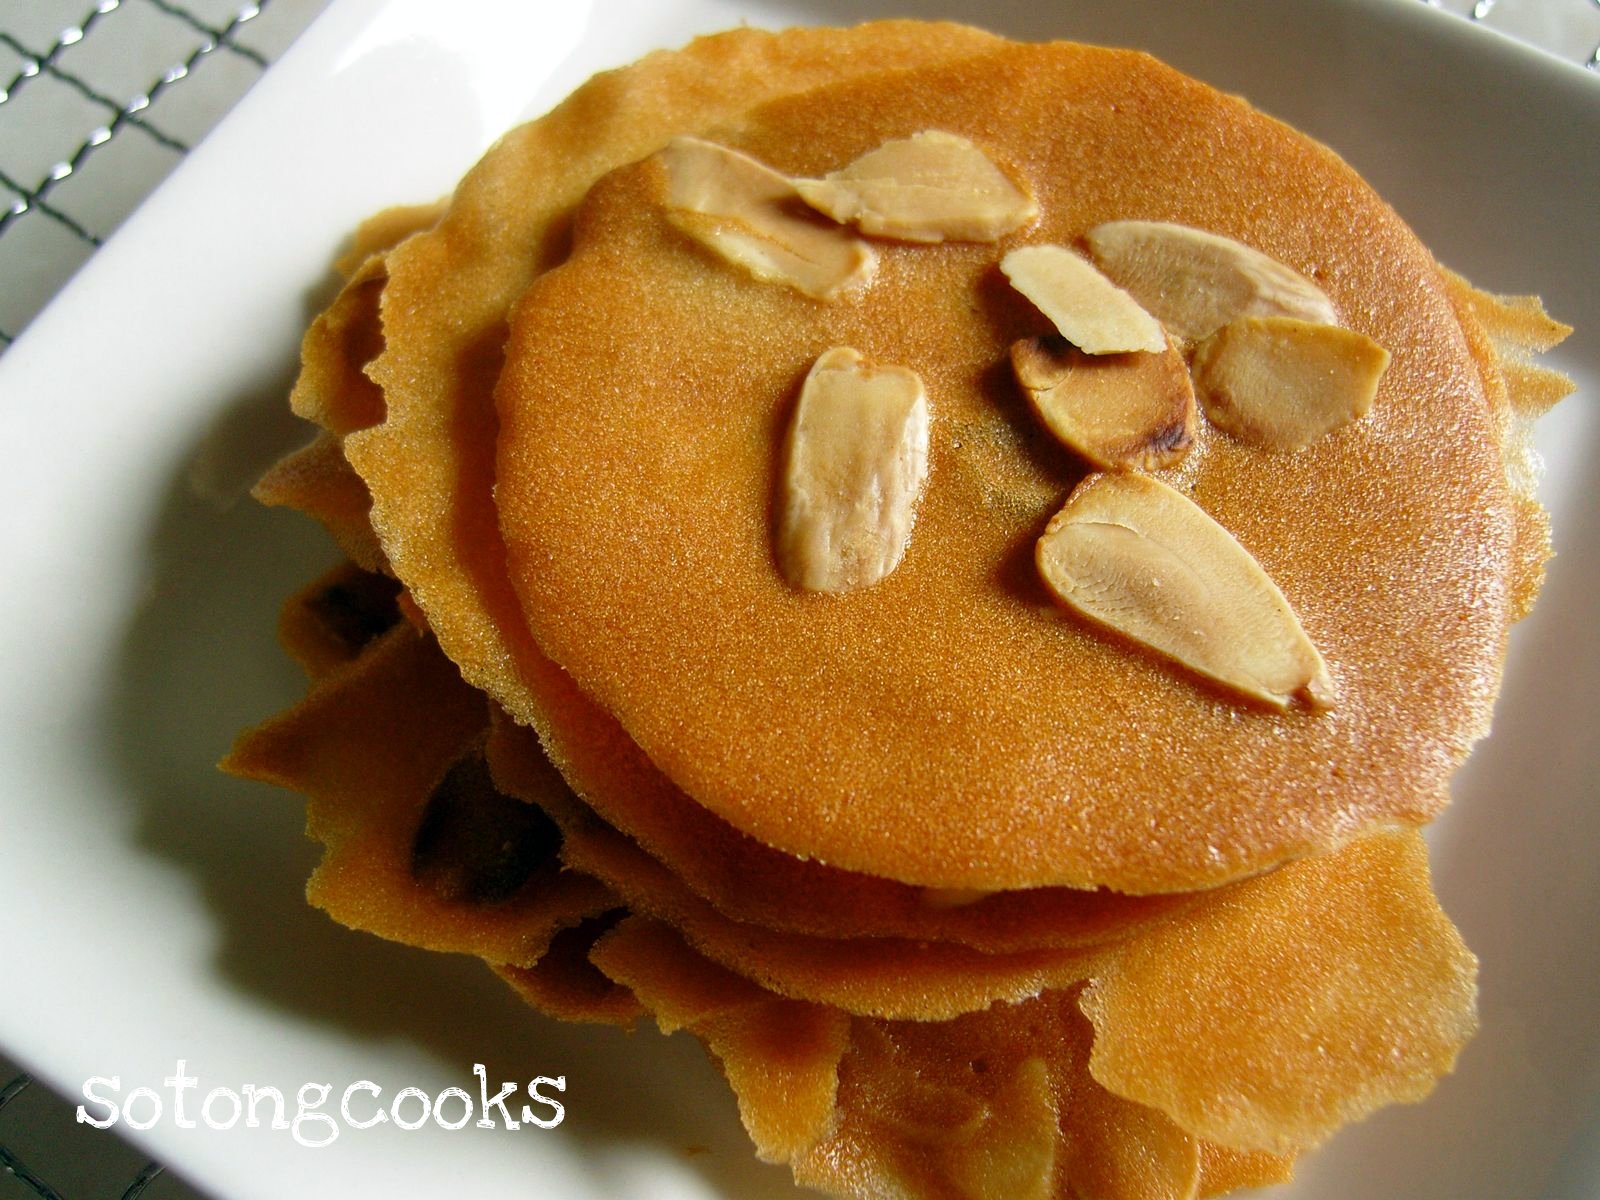
Food Processor Almond Danish Braid
(Recipe adapted from Nigella Lawson's 'How to be a Domestic Goddess' cookbook)
Ingredients:
60ml warm water
125ml milk, at room temperature
1 large egg, at room temperature
350g white bread flour
7g (1 package) rapid-rise yeast or 1 tbsp fresh yeast
1 tsp salt
25g caster sugar
250g unsalted butter, cold, cut into thin slices
For the filling:
150g ground almond
80g icing sugar
2 tbsp unsalted butter, room temperature
½ tsp almond extract (I used vanilla)
1 large egg white, beaten lightly
For the egg glaze:
1 large egg, beaten with
2 tbsp milk
For the clear glaze:
100g caster sugar
60ml water
For the sugar glaze:
100g icing sugar
1-2 tbsp warm water
Method:
To make pastry dough:
Pour the water and milk into a measuring cup and add the egg, beating with a fork to mix. Put to one side for a moment. Put the flour, yeast, salt and sugar in the processor, and give one quick whizz just to mix. Add the cold slices of butter and process briefly so that the butter is cut up a little, though you still want visible chunks. Empty the contents of the food processor into a large mixing bowl and quickly add the contents of the cup. Use your hands or a rubber spatula to fold the ingredients together, but don’t overdo it. Cover the bowl with plastic wrap, put in the refrigerator, and leave overnight or up to 4 days.
To turn it into pastry, take it out of the refrigerator, let it get to room temperature, and roll it out to a 20-inch (50 cm) square. Fold the dough square into thirds, like a business letter, turning it afterward so that the closed fold is on your left, like the spine of a book. Roll out again to a 20-inch square, repeating the steps above three more times. Cut in half, wrap both pieces in plastic wrap and put in the refrigerator for 30 minutes. Or you can refrigerate one (up to 4 days) to use now (for the Almond Danish Braid) and put the other one in the freezer to use later.
To make the almond filling:
Beat the butter until soft. Mix in the ground almonds and powdered sugar. Then add the almond extract and 2 tbsp of the egg white. You can make this in advance and keep it in the fridge for up to a week.
To make danish braid:
(You'll need only 1/2 quantity of the pastry dough above)
Roll the pastry out to a big rectangle. Slice the left and right thirds of the dough at an angle and parallel to the other side into 1/2 inch wide slices.Spread the filling on the middle of the dough.
Fold the top and bottom flaps over to hold in the filling. Fold the slices of dough from the left and right sides of the middle, alternating and forming a braid.

Place on the baking sheet and brush with the egg glaze. Leave to rise until it doubles in size and feels spongy like marshmallow, about 1 ½ hours. Meanwhile, preheat the oven to 175°C. Once risen, bake for 30 minutes or until golden.
Remove to a wire rack and make the two remaining glazes.
To make the clear glaze:
Heat the granulated sugar and water in a small saucepan. Bring to the boil then take off the heat.
To make the sugar glaze:
Add the water to the confectioners’ sugar a little at a time to make a runny icing. Brush the braid with the clear glaze first once it has cooled a bit; then when almost cold zigzag the sugar glaze over it.
 |
| Yummy moist almond filling which is not too sweet. |